My 2 Liter Soda Bottle Brewing Method
MY SIMPLE BREWING METHOD
Hey there, welcome to my quick rundown of how I brew beer using 2-liter soda bottles. It’s simple, affordable, and perfect for small-batch homebrewers like me. Whether you’re new to brewing or just looking for a creative way to make great beer in small batches, this method’s got you covered.
So, why soda bottles?
First off, they’re cheap, reusable, and easy to find. Most of us probably have a few lying around. They’re also perfect for small batches—you’re not committing to a big fermenter or making more beer than you can handle. Plus, they’re made to hold carbonation, so I also use smaller soda bottles as my serving vessels. It’s all about keeping it simple while still making something delicious.
WHAT I USE
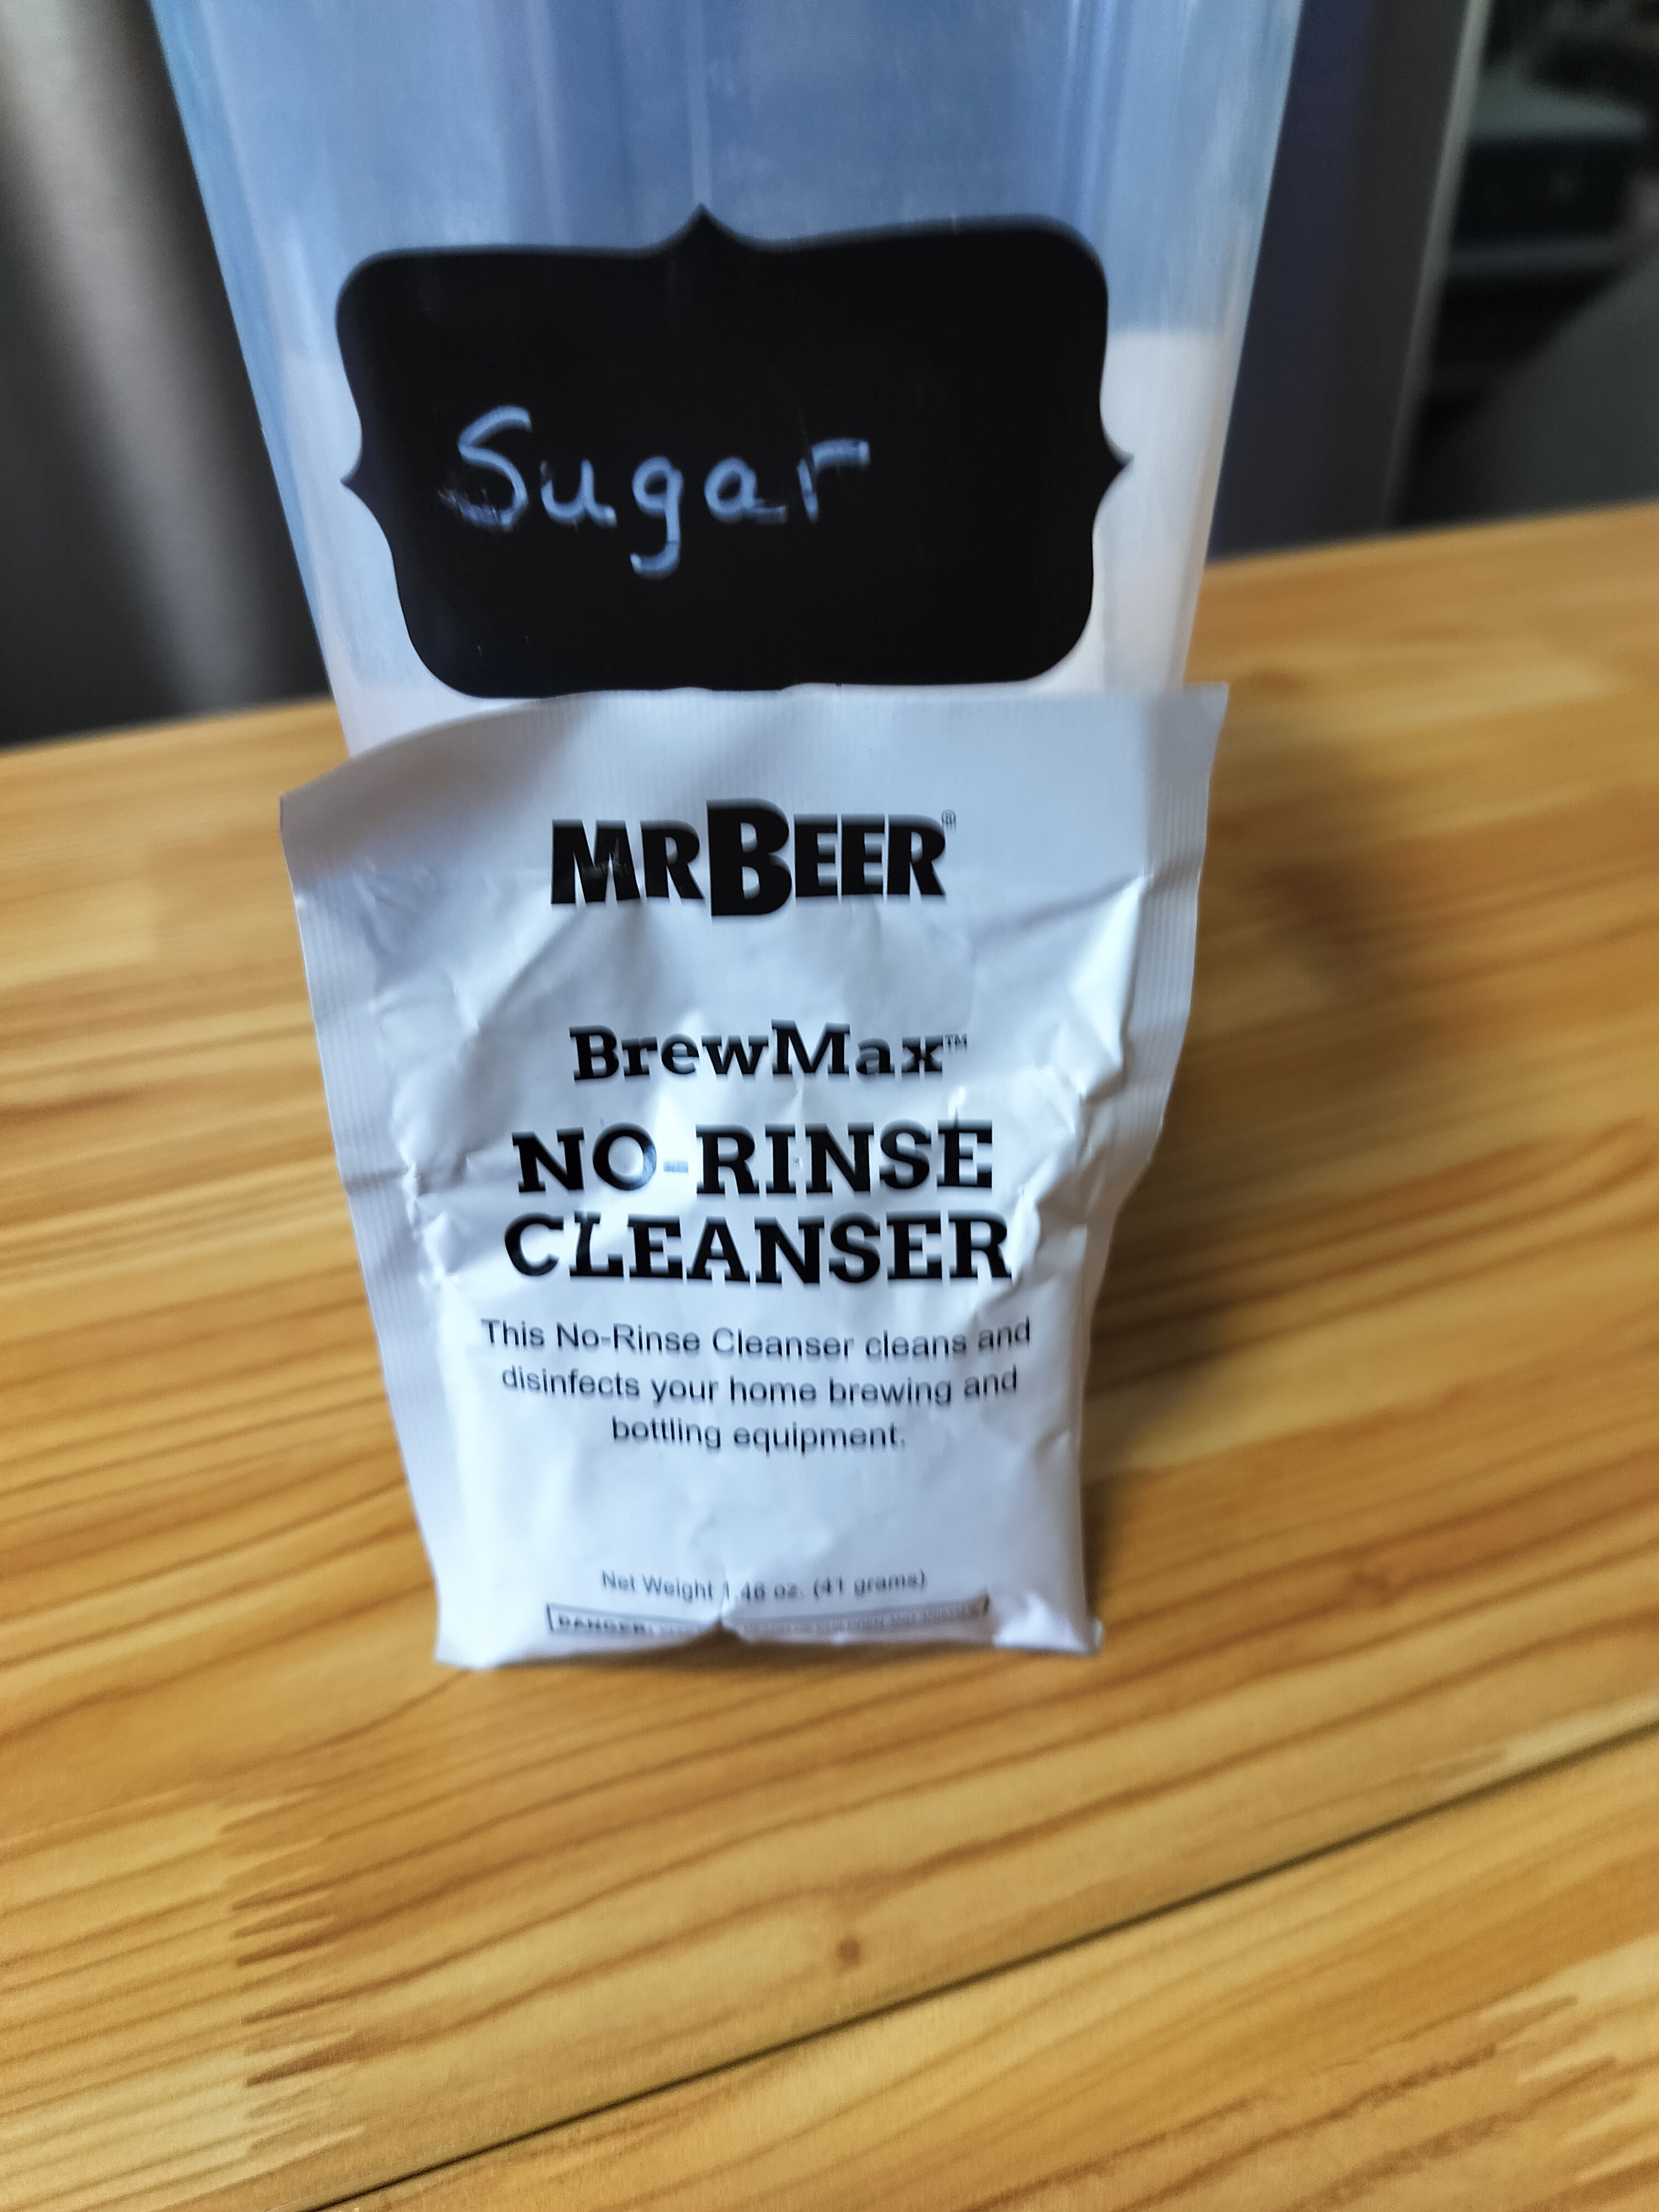
1. 2-Liter Soda Bottles, and 16.9 ounce soda bottles – Cleaned and then sanitized with Mr. Beer No Rinse Sanitizer

2. Mr. Beer Ingredients – I use their Pale, Smooth, Robust, or Golden un-hopped liquid malt extracts.

3. Steeping Grains – Sometimes I throw in Mr. beer specialty grains to play with color and flavor, like Munich, Vienna, or Chocolate Malt.

4. Hops – I measure them out for a 10-minute boil, keeping IBUs where I want them for the style I’m making. My go-to hops include Mr. Beer Hops, such as their Centennial, Cascade, or Citra Hops. But I also experiment with their other hops, depending on the recipe.

5. Dry Yeast – I typically use the Mr. Beer Dry Ale Yeast, it's cheap and works quite well.


7. Household Tools – I like to use a 3 quart teapot for steeping and boiling, a funnel, measuring cups, etc. Everything is basic and accessible.


AN EXAMPLE OF MY BREWING PROCESS
Step 1: I start by cleaning my soda bottles with hot soapy water, rinse them thoroughly, and sanitize them. No shortcuts here—sanitation is everything!
Step 2: I put the LME in hot tap water so it will pour out smoothly. I then heat about a liter of distilled water, mixed with spring water, in my teapot. If I’m using steeping grains, I’ll steep them first at a slightly lower temperature, mostly around 155° Fahrenheit, or 68° Celsius. After steeping, I remove the grains, bring the water to a boil, and add LME, sugar, and hops. The boil lasts 10 minutes since I’m working with such a small batch.
Step 3: Once the boil is done, I cool the wort as quickly as possible. You don’t need fancy equipment for this, I just use another 1 liter of ice cold treated water.
Step 4: Using a funnel, I pour the cooled wort into my 2 liter soda bottle, leaving enough headspace for fermentation. I top it up with more cold water to hit the 2-liter mark, shake it to mix, and check the temperature again. I try to make sure the temperature is below 80° Fahrenheit, or 26° Celsius.
Step 5: I then sprinkle my dry yeast right into the bottle, screw the cap on, give it a gentle swirl to mix everything, and then loosen the cap so gasses will escape while fermentation happens. The soda bottle goes into a cool, dark spot for the fermentation process.
ADDITIONAL INFORMATION
The soda bottle’s walls will firm up as CO2 builds during fermentation. So I periodically check the cap of the bottle to make sure it is still loose enough to let CO2 to escape. This is extremely important, I didn't want any explosions of beer! After about 10 days, I'll tighten the cap fully. And every day after I'll loosen the cap to see if pressure is still continuing.
Once fermentation is appears to be done, I'll transfer the beer into three 16.9 oz plastic soda bottles that I have added priming sugar to. I tighten those caps, and let them sit at room temp for 2 weeks to naturally carbonate. After that, they go in the fridge to chill.
When I’m ready to drink one, I pour it carefully into a glass to leave the yeast sediment behind. The result? A fresh, fizzy beer I made myself—doesn’t get better than that!
FINAL THOUGHTS
This method is super flexible. Want a hoppy pale ale? Adjust the hops and maybe use the Pale LME. Craving a darker, malt-forward beer? Go for the Smooth or Robust LME and throw in some chocolate malt. I’ve even swapped honey for cane sugar to bump up the ABV while keeping the flavors clean. The possibilities are endless, and it’s all about using what you have on hand.
At the end of the day, brewing in plastic soda bottles is all about convenience and creativity. It’s small-scale, low-cost, eliminates major cleanup, since all I have to do is throw the bottles into the recycle bin when I'm done. It's also perfect for experimenting with new styles or techniques. Plus, I am using everyday items and ingredients—no need for specialized gear or hard-to-find materials. Simplicity!
So, there you have it—my 2-liter soda bottle brewing method. It’s straightforward, flexible, and fun, proving that you don’t need a fancy setup to make great beer. If your new to brewing beer, or you just want to experiment to see if this is the hobby for you, then try it out for yourself, and let me know how it works for you!
Cheers!